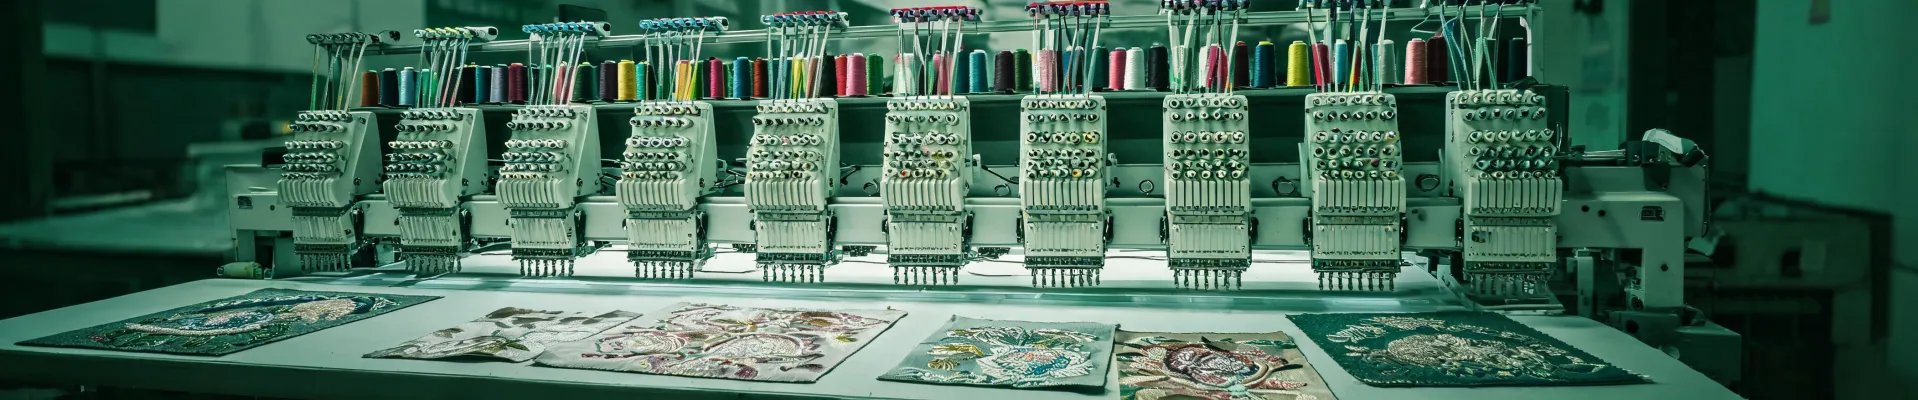
How to Spec a Barudan Machine for Rush Orders: A 5-Step Checklist
Posted on 2026-07-16 by Jane Smith
-
Who This Checklist Is For
-
Step 1: Lock Down the Deadline and Scope
-
Step 2: Choose the Right Head Count and Machine Type
-
Step 3: Secure the Right Hoops and Accessories
-
Step 4: Validate Thread and Color Quality
-
Step 5: Run a Fast Sample and Inspect
-
Common Mistakes That Kill Rush Orders
-
Final Thought: Quality is Your Brand
Who This Checklist Is For
If you've ever had a client call on a Tuesday afternoon needing 500 embroidered polo shirts by Friday morning, you know the pressure. This checklist is for production managers and shop owners at industrial embroidery businesses who need to make quick, smart decisions when the clock is ticking. No fluff, just steps.
In my role triaging rush orders for a mid-size contract embroiderer, I've handled over 200 urgent jobs in the past three years. Here's the process I've refined through trial and error – mostly error.
Step 1: Lock Down the Deadline and Scope
Before you touch any machine settings, get absolute clarity on three things: quantity, complexity, and delivery time. I learned this the hard way in March 2024 when a client said "as soon as possible" and I assumed 48 hours. They meant 24. We shipped late and lost a $15,000 repeat order.
Here's what you need to know: rush orders aren't just about speed – they're about feasibility. Ask yourself:
- Can we physically stitch that many pieces in the available hours? (Calculate time per piece × quantity + setup × color changes)
- Is the design simple enough for our fastest machines?
- Do we have the right embroidery hoops for Barudan in stock?
One short, honest conversation upfront saves hours of panic later. Period.
Step 2: Choose the Right Head Count and Machine Type
Conventional wisdom says more heads = faster production. Not always. For small rush batches (under 100 pieces), a Barudan single-head machine can actually beat a multi-head setup because setup time and thread changes are faster. I've tested this: a 6-head barudan takes 30 minutes to load and align hoops; a single head takes 8 minutes. For a 50-piece order with 5 color changes, the single head finishes faster despite slower stitch speed.
For larger runs, multi-head (4-head, 6-head, 8-head, or 12-head) is obvious. But don't overlook specialty machines like the flatbed embroidery machine – it handles hats, sleeves, and irregular items way better than a tubular arm. If your rush order includes caps or finished garments, a flatbed might save you two hours of re-hooping.
Look, I'm not saying multi-head is bad. I'm saying the fastest machine for the job depends on quantity and product shape. Always run the math before committing to a head count.
Step 3: Secure the Right Hoops and Accessories
You can't deliver if your hoops don't fit the product. For Barudan machines, embroidery hoops for Barudan come in dozens of sizes and styles. In a rush, you'll reach for the ones you use most – but double-check compatibility. I once grabbed a standard cap hoop for a visor order. Didn't work. Lost 45 minutes.
Pro tip from my experience: keep a dedicated set of magnetic hoops for delicate fabrics. They hold better and reduce slip, which means fewer re-stitches. That's it. Simple choice that saves hours on polyester blends.
Step 4: Validate Thread and Color Quality
Here's where the quality perception viewpoint kicks in. The client's first impression of your work is the color accuracy and stitch consistency. If the red is off by a shade, they'll think your shop is sloppy – even if you delivered on time.
Per Pantone Color Matching guidelines, a Delta E under 2 is the industry standard for brand-critical colors. I keep a printed Pantone fan deck next to my Barudan machines. For a recent rush order of 300 corporate shirts, the client requested a specific navy. I pulled the Pantone swatch, selected the closest polyester thread from my supplier, and ran a 5-minute sample. The match was within Delta E 1.2 – good enough to ship.
The alternative? We once delivered a batch of "forest green" that looked olive. The client refused the shipment. $2,200 in restocking and re-stitching. Save yourself the headache.
Also, consider the yarn embroidery machine aspect: if your machine is set up for metallic or specialty threads, test tension thoroughly. Nothing kills a rush order like thread breaks every 50 stitches.
Step 5: Run a Fast Sample and Inspect
You're tempted to skip this. Don't. Even with a Barudan, settings drift between runs. I now have a rule: every rush order gets a 1-piece sample before full production. It takes 10 minutes and reveals problems early.
When I compared our Q1 results – samples skipped vs. samples always run – I realized we had 30% fewer returns in the months we enforced the sample rule. Data doesn't lie.
Inspect the sample under good light. Check:
- Stitch density (too tight can pucker fabric)
- Color match (use a Pantone book or spectrophotometer)
- Hoop registration (no shifting)
- Backing stability
If you're using a newer model like the Poolin EOC05 computerized embroidery machine (yes, it's compatible with Barudan designs after conversion), the same inspection rules apply. The machine is a tool; your eyes are the QC system.
Common Mistakes That Kill Rush Orders
1. Assuming thread inventory is fine. Check your cones before starting. I've had a job stop at 2 AM because we ran out of the exact black spool. Now I keep a minimum stock of the top 25 colors.
2. Forgetting needle maintenance. A dull needle breaks threads and leaves burrs. Change needles every 8 hours of run time – especially before a rush job.
3. Ignoring hoop availability. If you only have two of the size you need, and the order requires four simultaneously loaded hoops on a 4-head machine, you're stuck. I keep spares of the three most common sizes.
4. Skipping final inspection. The customer will inspect, so you'd better do it first. One crooked logo can ruin a run of 100 shirts.
5. Not factoring in the cost of speed. If you're quoting a rush job, include a premium. Our policy: 50% surcharge for 48-hour turnaround, 100% for 24-hour. It covers overtime, expedited shipping, and the stress. Client's alternative was paying 3x market rate at a competitor. They paid our premium.
Final Thought: Quality is Your Brand
I've seen shops cut corners on thread or hoops to meet a deadline, thinking the client won't notice. They notice. Every time. The quality perception principle holds: your output is the client's impression of your entire company. A rushed order with flawless stitching builds loyalty. A rushed order with sloppy details destroys trust.
Take it from someone who has managed 200+ rush jobs: follow these steps, invest in the right hoops and thread, and never skip the sample. Your clients – and your bottom line – will thank you.

Jane Smith
I’m Jane Smith, a senior content writer with over 15 years of experience in the packaging and printing industry. I specialize in writing about the latest trends, technologies, and best practices in packaging design, sustainability, and printing techniques. My goal is to help businesses understand complex printing processes and design solutions that enhance both product packaging and brand visibility.